Password Stealer Usb Tool For Mac
We all carry around USB flash drives in our pockets or on our keychains. What if it got lost or stolen and somebody suddenly had access to all of your personal files? Password protect your flash drive to avoid taking that chance.
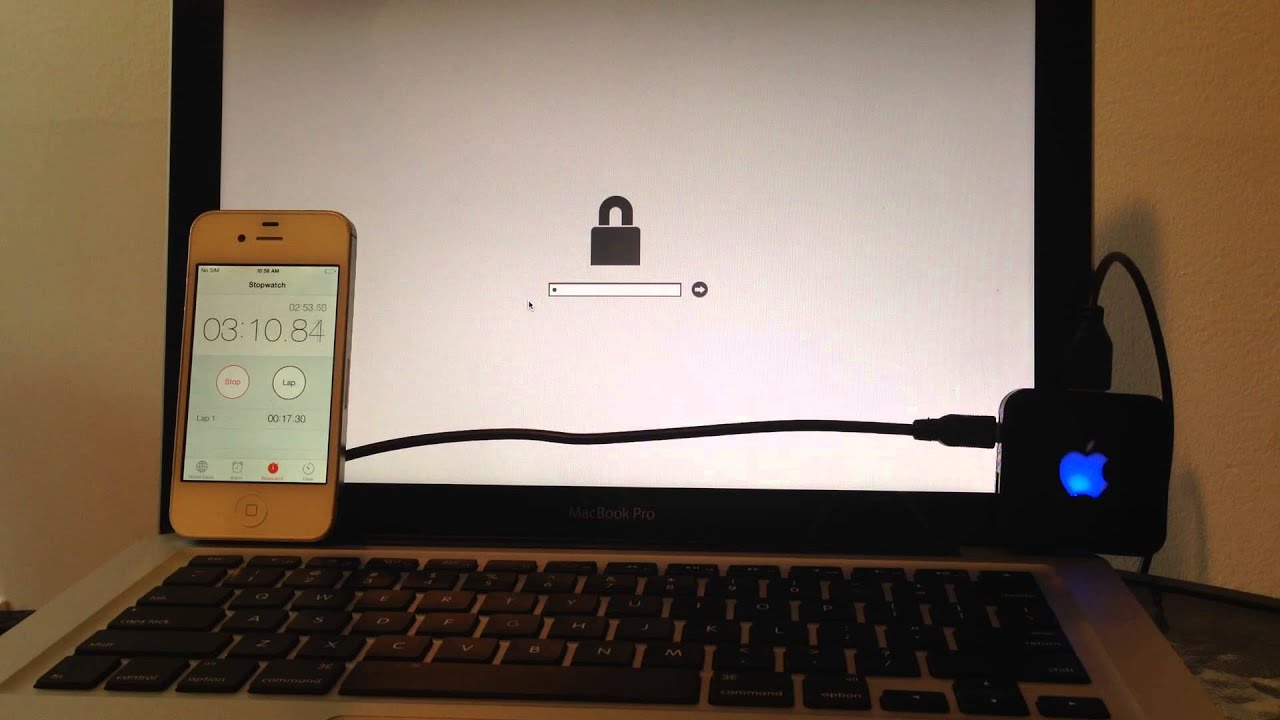
A-PDF Password Security for Mac is a piece of easy-to-use security software for Mac OS X desktops. This Mac tool allows you to secure or batch secure your PDF files with multi-level password encryption or unlock password-protected PDFs using password pool which will save you time and the trouble. With this utility, you can now encrypt and decrypt your PDF documents without the costly Adobe Acrobat. Why A-PDF Password Security for Mac? In this post we are going to talk about how can we change our USB drive into a password stealer that can hack all stored password on windows. All you need to create is a AUTORUN.inf and LAUNCH.bat file. Before stating we need to download some tools and to be placed in your pen-drive.
Some of us keep very important and sensitive information on our USB flash drives. And yet we walk around with them all day risking that they might somehow fall into the wrong hands. How foolish! Let’s find out how to lock down the files on these drives to keep them from prying eyes.
Rhinoceros 5 Latest Crack Plus Torrent Version With License Key Free Download Updated Rhino 5 Latest Crack is a famous editing and modeling tools. It is the best digital tools for high beautiful quality of new technology. Rhino 5 crack serial and torrent 2017 download.
If you only use your USB flash drive on Macs and not Windows-based PCs, there is a very easy way to password protect your data. It involves creating an encrypted disk image, which is basically a storage container for your files. Everything inside the disk image is accessible only to users who know the password that unlocks it. Don’t be frightened by the number of steps listed below – I chose to be overly thorough in some of my explanations to avoid confusion. The actual work that needs to be done by you will only take a couple minutes.
- The first step is to attach a USB flash drive to your Mac. This tutorial assumes there are not currently any files on the drive. If there are, temporarily copy and paste them all in a folder on your Desktop. Then copy and paste them back to the flash drive once the following steps are completed.
- Launch Disk Utility (Applications > Utilities).
- Find your USB flash drive in the list of devices on the left. Select it and then click on the Erase tab.
- Choose “Mac OS Extended (Journaled)” from the Format menu and type something of your choice in the Name field.
- Click the Erase button towards the bottom. Please note this will permanently delete any data on the drive. Make sure you’ve made a copy of important documents before doing this.
- Once the drive has finished reformatting, go to File > New > Blank Disk Image in the menu bar.
- In the window that comes up, enter a file name next to Save As. For example, I typed “Files”.
- Choose your USB flash drive from the Where drop-down menu.
- Re-type your file name in the Name field.
- The Size field requires some thought. To take advantage of all your USB drive’s storage space, enter a custom size that is slightly smaller than its full capacity. Of course, you can make the disk image any size you want – as long as it is smaller than the drive’s maximum capacity. Just remember that a 500MB disk image on a 2GB USB drive, for example, will only hold 500MB of password protected files before it gets full. The other 1.5GB will be usable, but files placed there will not be encrypted.
- Select “Mac OS Extended (Journaled) from the Format menu.
- Be sure to pick either 128-bit or 256-bit AES encryption from the Encryption menu. This is required to protect your files.
- Choose “Single Partition – Apple Partition Map” from the Partitions menu.
- Select “Read/write disk image” under Image Format, then click the Create button.
- A new window will be displayed where you must enter a password for the disk image. Make it difficult for other people to guess, but easy enough for you to remember. All of your files will be lost if you ever forget this password in the future.
- After the encrypted disk image has been created, it is ready for use!
Now when you connect your USB flash drive to a Mac and view its contents in Finder, you will see a DMG disk image file. Double-click this DMG file, enter the password, and it will be mounted for use. Copy, paste, save, and delete files here like you would anywhere else. The one important thing to remember is to eject the disk image first, then the flash drive, before disconnecting it from the computer. This will prevent data corruption and loss. With that said, you’ve got a fully-functioning USB flash drive with data that is encrypted and password protected for your access only.